Next.js Setup with Eppo Feature Flags
This guide walks through how to setup an Eppo Feature Flag on a client and server rendered component in a Next.js app. More specifically, this guide walks through the set up and settings of a sample Next.js app.
Start a new Next.js React App
Create the Next.js app
npx create-next-app
Provide the following answers when prompted:
- What is your project named?
react-sdk-walkthrough - Would you like to use TypeScript?
Yes - Would you like to use ESLint?
Yes - Would you like to use Tailwind CSS?
No - Would you like to use
src/directory?No - Would you like to use App Router? (recommended)
Yes - Would you like to customize the default import alias (@/*)?
No
Run the Next.js app
cd react-sdk-walkthrough
yarn dev
Open a browser to the location output for local (e.g., http://localhost:3000)
Eppo flag setup
- Create and copy an SDK key in your Eppo app if you don't already have one.
- Create a feature flag in your Eppo app.
- Make sure your flag is turned on in the environment that correlates to your SDK key.
Client rendered component setup
Install the Eppo JS client SDK
yarn add @eppo/js-client-sdk
Create a randomization provider
In this section, we will create a provider based off our Usage in React documentation.
- Create a new
/appfile calledEppoRandomizationProvider.tsx - Copy and paste the following example code into
EppoRandomizationProvider.tsx:
import { ReactElement, useEffect, useState } from 'react';

import { init } from '@eppo/js-client-sdk';

interface IEppoRandomizationProvider {
  waitForInitialization?: boolean;
  children: ReactElement;
  loadingComponent?: ReactElement;
}

const EppoRandomizationProvider = ({
  waitForInitialization = true,
  children,
  loadingComponent = <div>Loading...</div>,
}: IEppoRandomizationProvider): ReactElement => {
  const [isInitialized, setIsInitialized] = useState(false);
  useEffect(() => {
    init({
      apiKey: '<SDK-KEY>',
      assignmentLogger: {
        logAssignment(assignment) {
          console.log('TODO: log', assignment);
        },
      },
    }).then(() => {
      return setIsInitialized(true);
    });
  }, []);

  if (!waitForInitialization || isInitialized) {
    return children;
  }
  return loadingComponent;
};

export default EppoRandomizationProvider;
- Replace
<SDK-KEY>placeholder with your SDK key
Create a component to use the randomization provider
- Create a new
/appfileOfferExperiment.tsx - Copy and paste the following code into the
OfferExperiment.tsxfile.
import { useMemo } from "react";
import { getInstance } from "@eppo/js-client-sdk";

const OfferComponent = () => {

    const subjectKey = "<SUBJECT-KEY>"

    const assignedVariation = useMemo(() => {
      const eppoClient = getInstance();
      return eppoClient.getStringAssignment("<FLAG-KEY>", subjectKey, <SUBJECT-ATTRIBUTES>, "<DEFAULT-VALUE>");
    }, []);

    return (
      <div>
        {assignedVariation === "control" && <p>50% off widgets!</p>}
        {assignedVariation === "test" && <p>Buy one widget get one free!</p>}
        {!assignedVariation && <p>Buy a widget today</p>}
      </div>
    );
  }

export default OfferComponent;
For the sake of demonstration purposes, there is a display other than control for the disabled/error case which is the "Buy a widget today!" text. In most implementations, we’d default to control in that situation like so:
<h1>
  {(!assignedVariation || assignedVariation === 'control') && (
    <p>50% Off widgets!</p>
  )}
  {assignedVariation === 'test' && <p>Buy one widget, get one free!</p>}
</h1>
- Copy and paste your flag key into the
getStringAssignment()method, along with a user id, user attributes, and default variation value.
Use the component in the application
- Put the offer component under the logo in
page.tsx
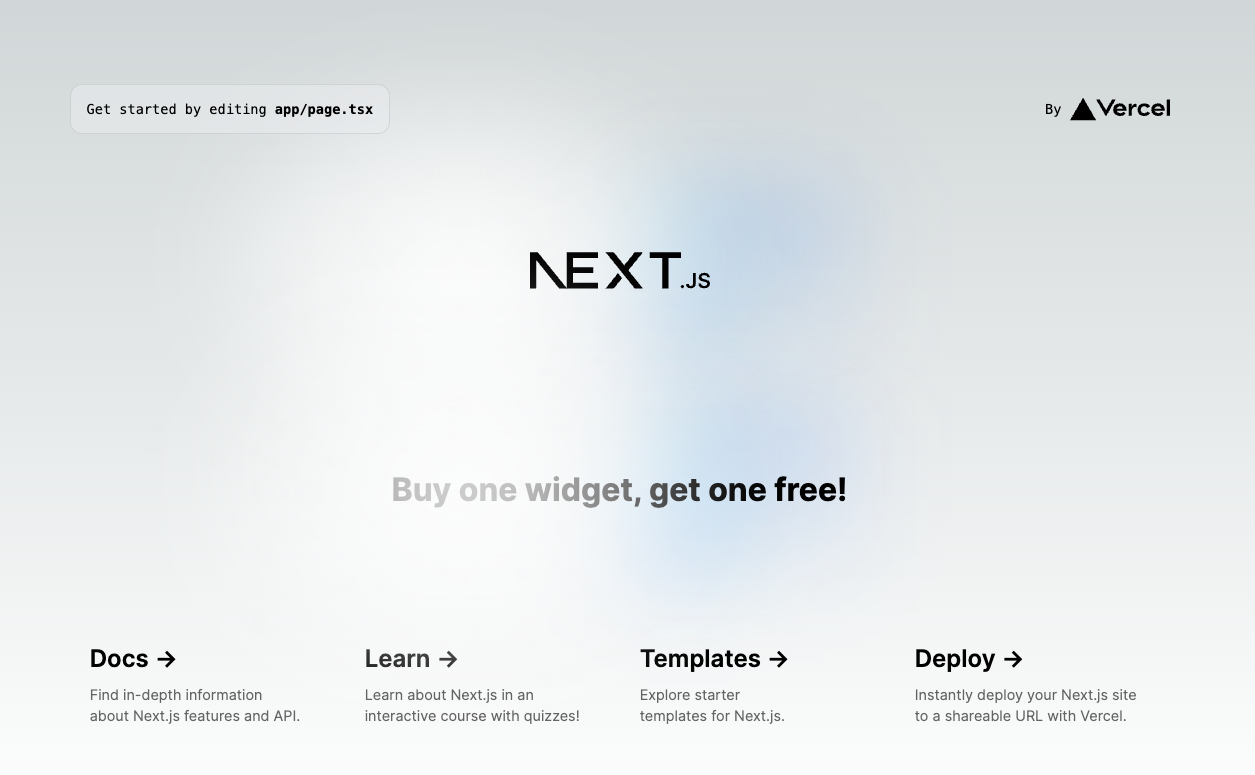
Below is a snippet from what you will see in your page.tsx and where you should place the offer component:
<div className={styles.center}>
  <Image
    className={styles.logo}
    src="/next.svg"
    alt="Next.js Logo"
    width={180}
    height={37}
    priority
  />
</div>

// Offer component will go here
- Include the following line at the top of
page.tsxto tell the Next.js app to treat the page as a client component (e.g., it is not server-side rendered, and can use react hooks)
'use client'; // Mark this file as a Client Component
- Import our offer experiment component
import OfferExperiment from './OfferExperiment';
- Add it to the page
<div className={styles.center}>
  <EppoRandomizationProvider>
    <OfferExperiment />
  </EppoRandomizationProvider>
</div>
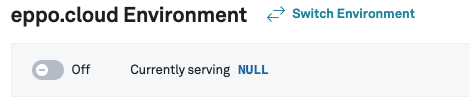
Since the experiment is off, we should get the default experience

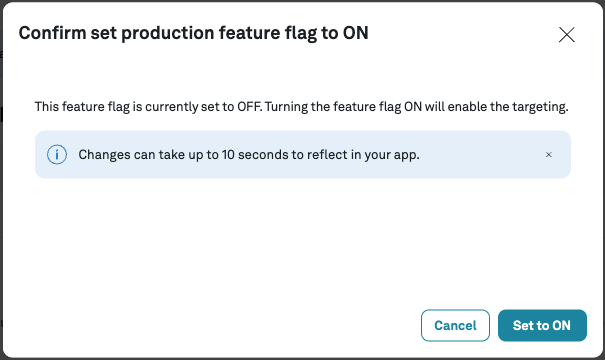
- Turn the flag on in Eppo
- Change the subject key to see the other experience
const subjectKey = 'TODO-A';

Server rendered component setup
Install Eppo Node SDK
Follow the instructions to create your Next.js app as outlined in the previous section. For server-rendered components, we'll also need to install Eppo's Node.js SDK.
yarn add @eppo/node-server-sdk
SDK initialization
Create a new app/shared/get-eppo-client.ts file to handling SDK initialization. This file will reside in a new app/shared folder that will contain helpers for server-rendered components. Copy the code snippet below. The init function is called outside of the getEppoClient scope so that it's only called once.
'use server'; // directive needed for server-side rendering

import { init } from '@eppo/node-server-sdk';

const eppoClient = init({
  apiKey: '<SDK-KEY>', // SDK keys defined at https://eppo.cloud/feature-flags/keys
  assignmentLogger: {
    logAssignment(assignment) {
      console.log('TODO: log ', assignment);
    },
  },
}).catch((err) => {
  console.error('Error initializing Eppo SDK:', err);
});

export default async function getEppoClient() {
  return await eppoClient;
}
String assignment helper
Let's also create a helper function for fetching string assignments. This helper will ensure that the Eppo SDK is initialized before returning a value. To do this, create a new app/shared/get-string-assignment.ts file, and add the code snippet below.
'use server'; // directive needed for server-side rendering

import getEppoClient from './get-eppo-client';

export default async function getStringAssignment(
  flagKey: string,
  subjectKey: string,
  subjectAttributes: Record<string, string> = {},
  defaultValue: string = ''
): Promise<string> {
  const eppoClient = await getEppoClient();
  return (
    eppoClient?.getStringAssignment(
      flagKey,
      subjectKey,
      subjectAttributes,
      defaultValue
    ) ?? defaultValue
  );
}
Rendering the flag assignment
Next, we'll need to create a component that uses our flag variation. Create a new app/OfferExperement.tsx file, and add the snippet below. We’ll pass the assigned flag variation to the component, rather than fetching the assigned variation within the component.
import type { FunctionComponent } from 'react';

interface OfferExperimentProps {
  variation: string;
}

export const OfferExperiment: FunctionComponent<OfferExperimentProps> = ({
  variation,
}) => (
  <h1>
    {variation === 'control' && <p>50% Off widgets!</p>}
    {variation === 'test' && <p>Buy one widget, get one free!</p>}
    {!variation && <p>Buy a widget today!</p>}
  </h1>
);

export default OfferExperiment;
Putting it all together
In app/page.tsx, remove any 'use client' directive if there is one. Then, add the logic that will retrieve the flag assignment and render our OfferExperiment component. Our app/page.tsx file should look similar to the following example.
import styles from './page.module.css';
import OfferExperiment from './OfferExperiment';
import getStringAssignment from './shared/get-string-assignment';
export default async function Home() {
const flagKey = '<FLAG-KEY>'; // defined in your flag configuration (https://eppo.cloud/feature-flags)
const subjectKey = '<SUBJECT-KEY>'; // ideally populated from something like login context
const offerVariation = await getStringAssignment(flagKey, subjectKey);
return (
<main className={styles.main}>
<div className={styles.description}>
<p>
Get started by editing
<code className={styles.code}>app/page.tsx</code>
</p>
<div className={styles.center}>
<OfferExperiment variation={offerVariation} />
</div>
{/* (other components) */}
</div>
{/* (other components) */}
</main>
);
}
If your development server is not yet running, run yarn dev. You should now see your experiment running with the new server rendered component.